From the 21stFebruary until the 10thof March 2019, I went on an adventurous trek in the Everest region of Nepal’s Himalaya without a guide. During my trek I went to the Everest Basecamp (5360m), Kala Patthar (5550m) and Gokyo Ri (5360m). Unfortunately, the breathtaking (yes, an average altitude of 5000m will be breathtaking) three-passes-trek was closed at that time due to heavy snowfall.
In this article I would like to share with you how you can do this trek too without using airplanes and completely on your own.
Packing and Preparation
“By failing to prepare, you are preparing to fail.” – Benjamin Franklin
I can only agree with this almost 300 years old, wise quote of one of the Founding Fathers of the United States of America. Good preparation is worth a mint for any upcoming event and therefore I would recommend to stay at least 2 days in Kathmandu to purchase all the necessary items for an unforgettable trip. Feel free to check out the packing list which I attached to the end of this article.
Make sure that you buy a map and plan your itinerary. I linked mine to this post so that you can get some inspiration.
Remember that there will be almost no ATMs on the trek so bring enough Nepali Rupees, I recommend at least 60 000 NPR.
AMS – Acute Mountain Sickness
To avoid getting high-altitude symptoms or even the infamous AMS (acute-mountain-sickness), I would recommend having at least one day of acclimatization every 1000m that you go higher during your trek. The body needs time to acclimatize, as it gets extraordinarily strained while less oxygen is available in the air. Furthermore, I would recommend drinking enough water (at least 3-4 liters a day), eating healthy and light, as well as not drinking alcohol.
First symptoms of AMS can be a headache, dizziness, muscle aches or nausea. If you are experiencing any of those symptoms, it is recommended to stay at the current elevation and not go higher.
In case the symptoms don’t get better or even become worse (shortness of breath, confusion or vomiting) within 10-12 hours, it is recommended to directly go to a lower elevation. Furthermore, Diamox, a drug which helps your body to acclimatize, should be taken.
A person, being high-altitude sick should never be left alone.
Insurance for trekking in the Himalaya
Fortunately, my travel insurance covers me even in high-risk areas such as the Himalaya and therefore, I didn’t have to get extra insurance for the trek. Make sure that your insurance will cover you, as evacuations or treatments at high altitude in a remote location can become very expensive. There are several insurance companies that could cover you for an affordable price, such as Travelnomads.com.
Do I need a guide?
Trekking in the Himalaya can be dangerous and is generally not recommended to beginners. High altitude, differing climate and the exhausting hikes can get you in dangerous situations if you have never experienced them before and don’t know how to deal with them.
Nevertheless, it is possible to do the Everest Basecamp, Kala Patthar and Gorkyo Ri completely on your own and without a guide if you already have some trekking experience. I personally enjoyed being on my own, choosing freely my speed, direction and duration of each trek and never got lost or in any dangerous situation.
The paths are usually clear and frequently used by locals, who are willing to help in case you have lost your way.
Nevertheless, I also met people who hired a guide and enjoyed being with him (guides are mostly men). For a Nepalese person it can be a good source of income to show tourists the beauty of their country, as guides earn much more than the average Nepalese worker.
Cost of 17 days trekking
Please keep in mind, that Nepal is the third poorest country in Asia and tourism is the main income for many Nepalese people. Therefore I request you to please pay the Nepalese people fairly according to the services they provide.
Just keep in mind that every good that you consume had to come from far, far away and got carried all the way to the tea house. Of course, prices are more expensive than in Kathmandu or elsewhere but PLEASE DON’T BE THE STINGY BACKPACKER WHO IS BARGAINING FOR EVERY RUPEE.
Those people deserve to get paid well!
Anyway, here are my expenses.
The whole trip (Permits, jeep rides, entry fees, food, accommodation
I had three meals a day at lodges and drank an average of one warm tea at each lodge I stayed.
Some lodges were extraordinarily comfortable and cozy or had amazing food, so I recommended them in this article.
To avoid plastic, I never bought bottled water and used water purification tablets to drink the lodge’s
February is low-season in Nepal so prices were low. Some lodges didn’t even charge me a room fee, as long as I ate at their place. Usually, I had to pay about 1$ or 2$ for a simple bed to sleep in.
Before starting my trip, I bought and rented warm clothes for affordable prices in Kathmandu, as well as about 3 kilograms of snacks due to the rising prices for food the higher you go (a dal baht in Gorakshep (5140m) is two times more expensive than in Namche Bazaar (3440m)).
At lower elevations such as Paiya or Paphlu, prices were relatively cheap and I could easily eat three meals per day for just 1000 NPR, while I had to pay 850 NPR for just one meal in Gorakshep (the nearest village to Everest Basecamp).
In Total
40 000 NPR
Transportation
Jeep: 2 x 1600 NPR = 3200 NPR
Food and drinks
Snacks: 4 000 NPR
Food and drinks at lodges or tea houses: 21 000NPR
Permits
NP Permit: 3000 NPR
Local TIMS Card: 2000 NPR
Gear
Jacket: 80 NPR x 17 days = 1440 NPR
Spikes: 1100 NPR
Gloves: 800 NPR
Hat: 300 NPR
Rain poncho: 750 NPR
Medics: 500 NPR
Accomodation
Room fees: 1900 NPR
will be two times,
if not three times more expensive than usual, as it has to get carried up by a porter.
Leave nothing but footprints
Over the last 70 years, the Everest region in Nepal has become a pilgrimage for thousands of passionate adventurers and trekking enthusiasts. Within the last 20 years the number of tourists visiting Nepal has tripled. Tourism has brought the country new economic opportunities but also unforeseen ecological damages.
Due to the rising demand for goods, accommodation and transportation, the main ecological damages of tourism in Nepal is environmental pollution. The air quality of cities such as Kathmandu has fallen below the WHO’s air quality standards and plastic trash in Nepal’s beautiful Himalaya is not a rarity anymore. Responsible and sustainable tourism is more important than ever to preserve Nepal’s stunning nature and support local communities.
The scenery of the Mt. Everest region is absolutely stunning and its beauty should be preserved. So remember to take nothing but pictures, leave nothing but footprints and kill nothing but time.
Trash collection systems hardly exist in the Himalaya region, so all the trash that you produce should be taken back down by you, so think twice before consuming something. Best is to bring a bag in which you collect all your trash until you properly dispose it back in Kathmandu.
Avoid using single-use plastics, use water purification tablets instead of bottled water and don’t litter!
It is our responsibility to keep the Himalaya clean if we want to conserve it’s unique landscapes.
Itinerary
Day One: Ringmu
Kathamdu to Salleri (271 km, by jeep 10 hrs.) to Ringmu (15 km, 4hrs.) (easy)
On day one you will leave Kathmandu by jeep to Salleri. An alternative is taking a flight but the flight from Kathmandu to Luklah is pretty expensive (One way, 180$).
Furthermore, airplanes are contributing to global warming due to their high CO2-emissions and are therefore not the best option to choose while trying to keep one’s ecological footprint small while traveling.
A ticket for the jeep costs 1600 NPR and can be purchased at the Kathmandu bus station or directly at the jeep.
The ride will take about 10 hours and I would recommend to leave Kathmandu as early as possible to avoid the city’s traffic.
Another benefit is that you could arrive in Salleri in the late afternoon and start trekking towards Ringmu, which will take you about 4 hours, on the same day.
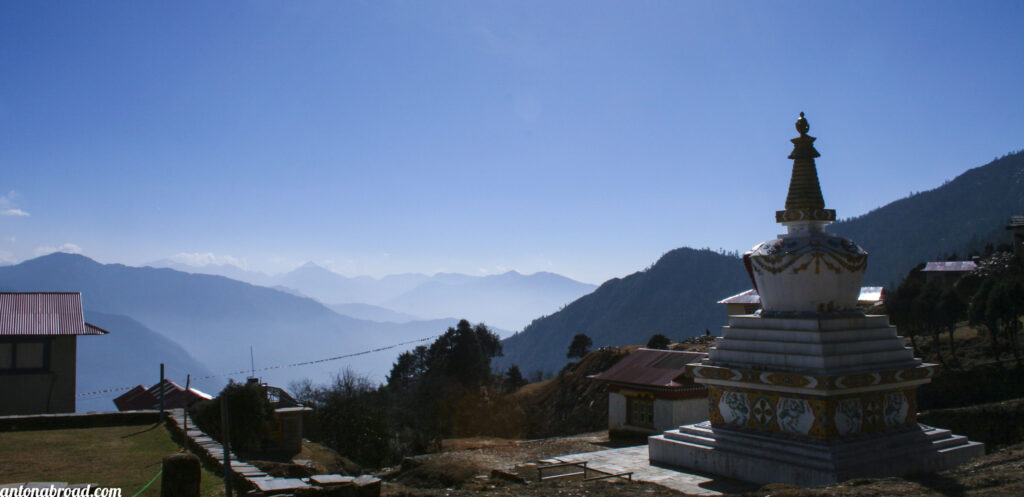
Day Two: Jubing (1680m)
Ringmu to Jubing (11 km, about 4,5 hrs.)
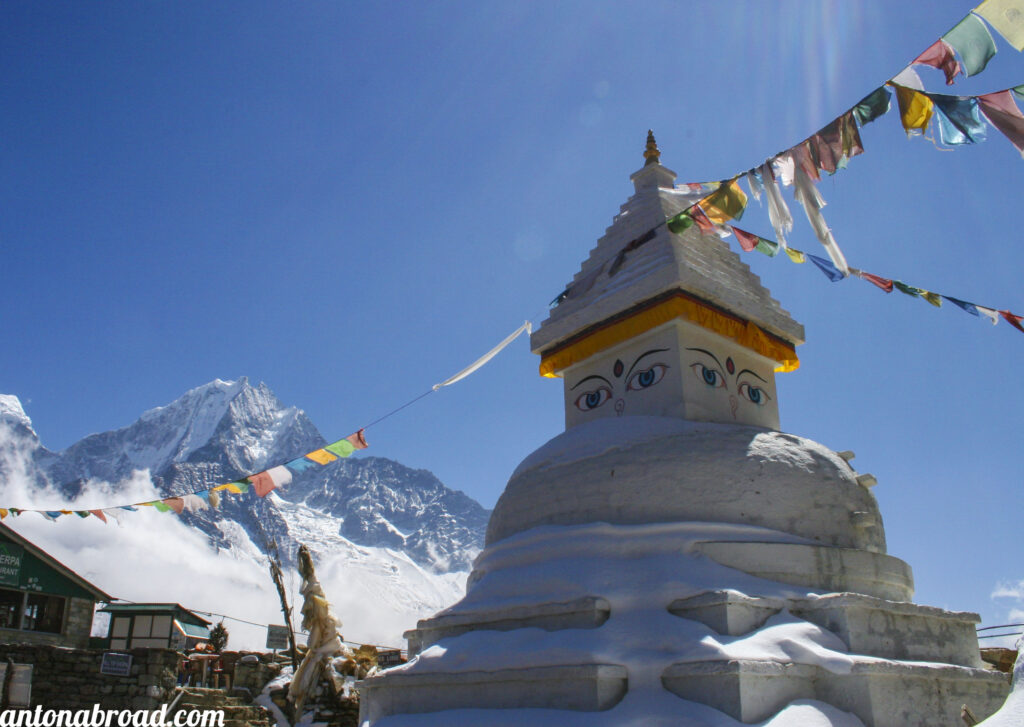
On day two, you will be walking downhill most of the time and come along beautiful forests, pagodas and rivers. Don’t forget to visit the monastery in Taksindu and enjoy the beautiful view right next to the Stupa.
I went on a wrong path for about 2 hours because I went too far off the beaten path, had sore muscles, as well as a lack of motivation and therefore took much longer than the average trekker might take for this part.
Day 3: Paiya (2730m)
Jubing to Paiya (12 km, about 5,5 hrs.)
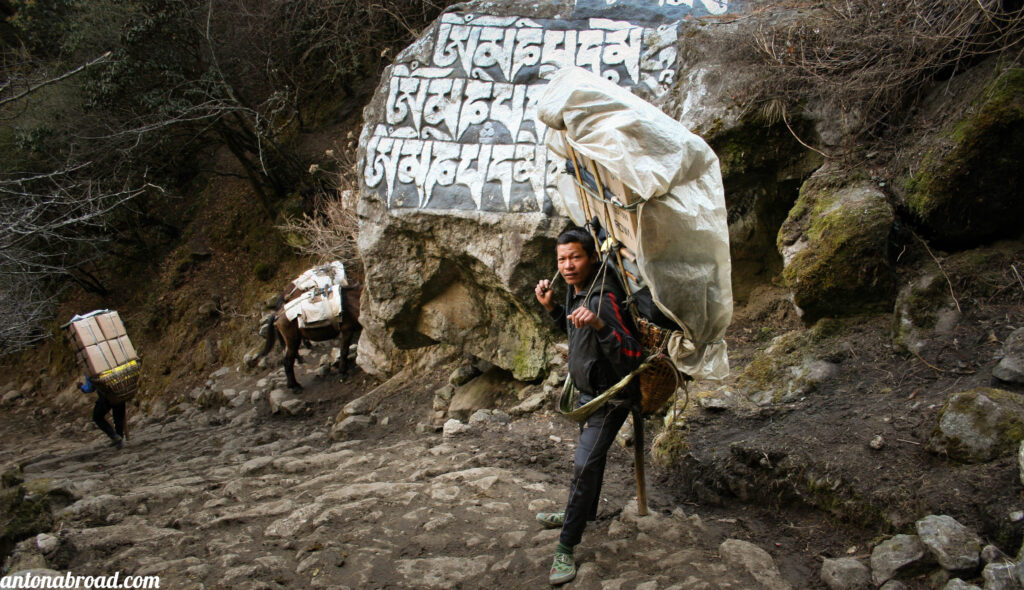
A lot of donkeys and local farmers will cross your way, as this is a main trade route between the villages. If the weather is good, you will already be able to glimpse some glaciers at the horizon.
I would recommend
Day 4: Namche Bazar (3440m)
Paiya to Namche Bazar (26 km, about 8 hrs.)
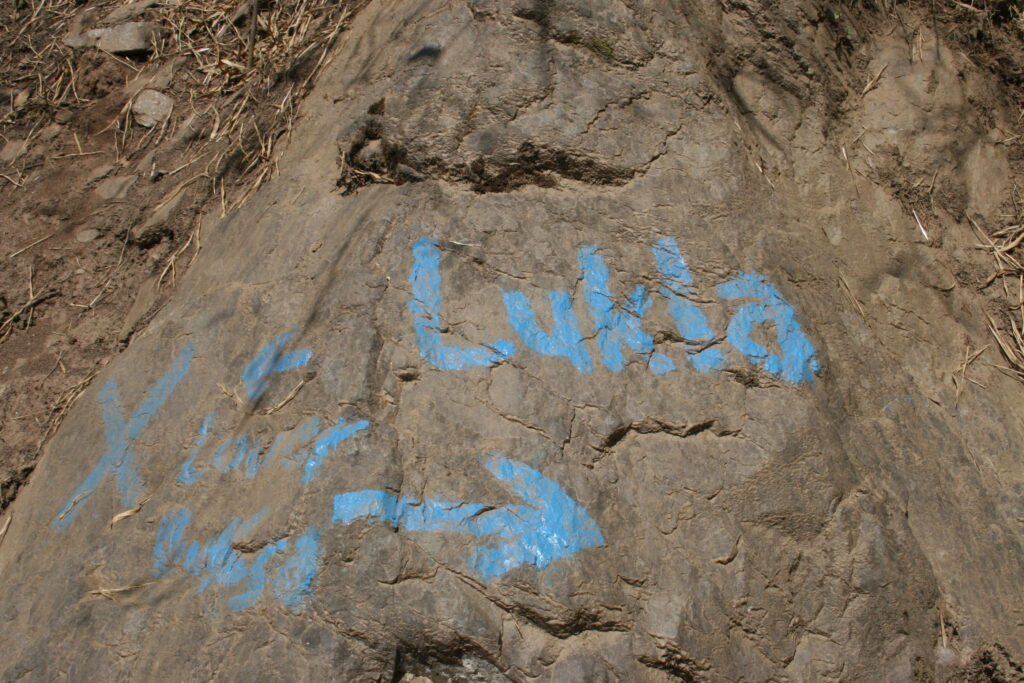
The way from Paiya to Namche is mostly up-hill and very scenic. I remember it as one of the most beautiful parts of my trek as it goes through dense forests, crosses multiple rivers and includes scenic views of Namche’s incredible mountain range. Once you pass Luklah, the number of tourists using the paths increases.
Day 5: Day of Acclimatization in Namche Bazar
To make sure that you won’t get AMS (Acute-Mountain-Sickness), I would recommend having a rest day in Namche Bazar, so that your body can acclimatize. Namche Bazar is a very touristy place and you can find a lot of places to eat different styles of food such as pizza, pasta or sandwiches. Nepali food is available as well.
Feeling bored? Go for a day trek in the beautiful sorrounding, visit one of the many book shops in Namche Bazar or watch a movie, at the Liquid Bar, which shows two documentaries every afternoon.
Day 6: Dingboche (4349m)
Namche Bazar to Dingboche (20 km, 8 hours)
Motivated and recharged by the rest day in Nmache Bazar, I hiked for about eight to nine hours on my sixth day. This day was one of the longest days of my trek and most of the other trekkers preferred to stay in Pangboche, a village 4,5 hours after Namche Bazar.
There is a brown house, about 300 meters in front of Dingboche, in which a family lives that offers food and accommodation. Their prices are about 50% of the usual prices, lodges charge in Dingboche and I enjoyed staying with them.
Day 7: Day of acclimatization in Dingboche
As I did 1000m of height on my previous day, I decided that it’s better to take another day of acclimatization before going further towards Gorakshep. It is not necessary to have this second day of acclimatization but I did it anyway, as it’s not recommended to go more than 600m in height per day once you crossed 3000 height-meters.
Dingboche was one of the coldest places I stayed in and one of my hosts told me an interesting technique to stay warm at night.
Before you go to bed, fill up your water bottle with hot water, close it and put it inside of your sleeping bag. Your feet will stay warm and your water won’t freeze overnight.
Day 8: Lobuche
Dingboche to Lobuche (8 km, about 4 hours)
The trek will start with an easy walk through the “ice-desert” of Pheriche and incredible views of the glaciers that surround you. After one and a half hours, the path goes steep up for one hour to a little village with three lodges. I would recommend to have lunch here and then continue to Lobuche, which is another 2 hours walk from there.
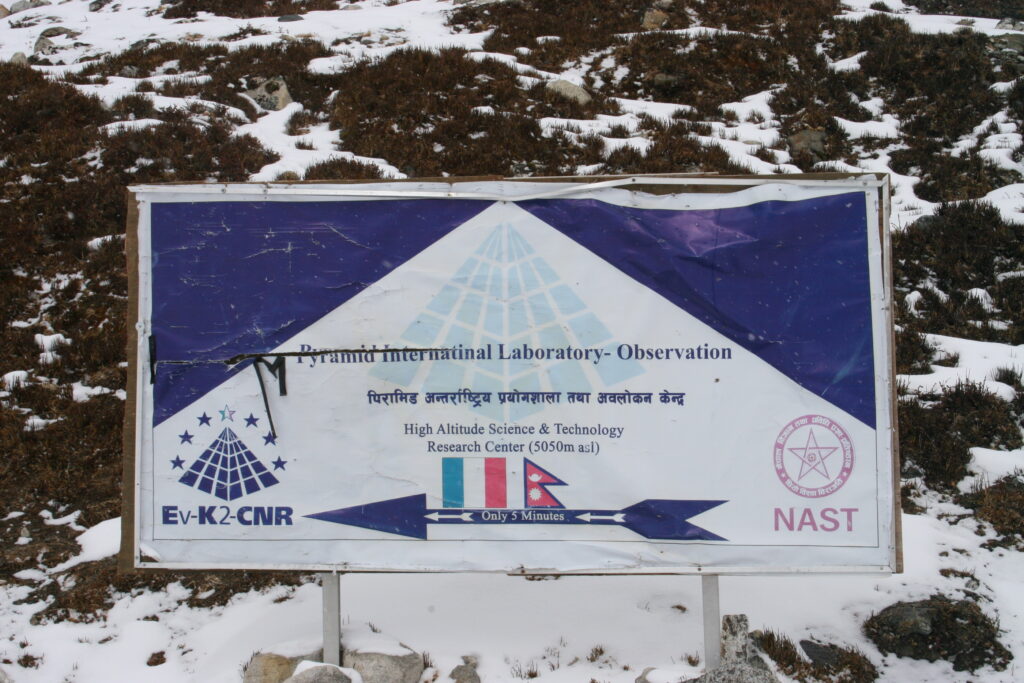
When I reached Lobuche, I still felt so energized that I continued walking until I reached a sign, advertising an Italian research centre. The research centre doesn’t exist anymore, as it got redesigned to be the Pyramid guest house now. For just 3000 NPR, I got two big meals, free charging of all my mobile devices, a tea-and-coffee-refill-flatrate, a hot shower and the most comfortable room that I had during the whole trek.
In almost 5000m this is a really good deal and I highly recommend, staying at the Pyramid lodge.
Day 9: Gorakshep; climbing Kala Patthar (5550m)
Lobuche to Gorakshep (5 km, 2 hours)
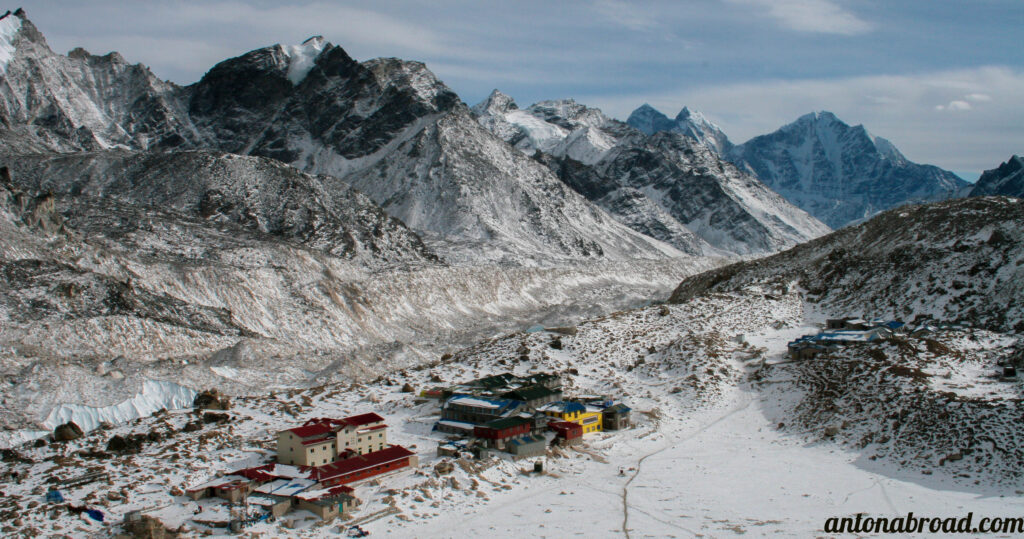
The path from Lobuche to Gorakshep is unbelievable beautiful, as you will pass ice caves, huge glaviers and stunning landscapes. It was on this day, that I felt the air’s missing oxygen for the first time. More often than usual, I had to stop and catch my breath. Nevertheless, I made it to Gorakshep on time and still had enough time to Climb Kalapatthar.
Beware that the nights in Gorakshep can get as cold as -30˚ in February.
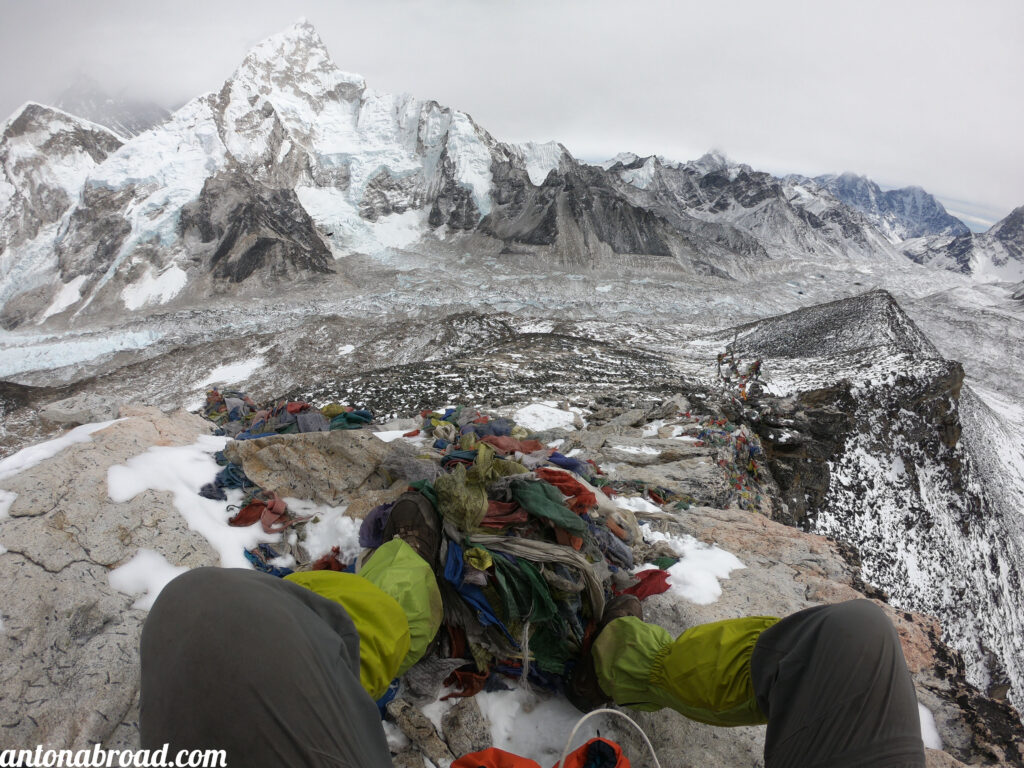
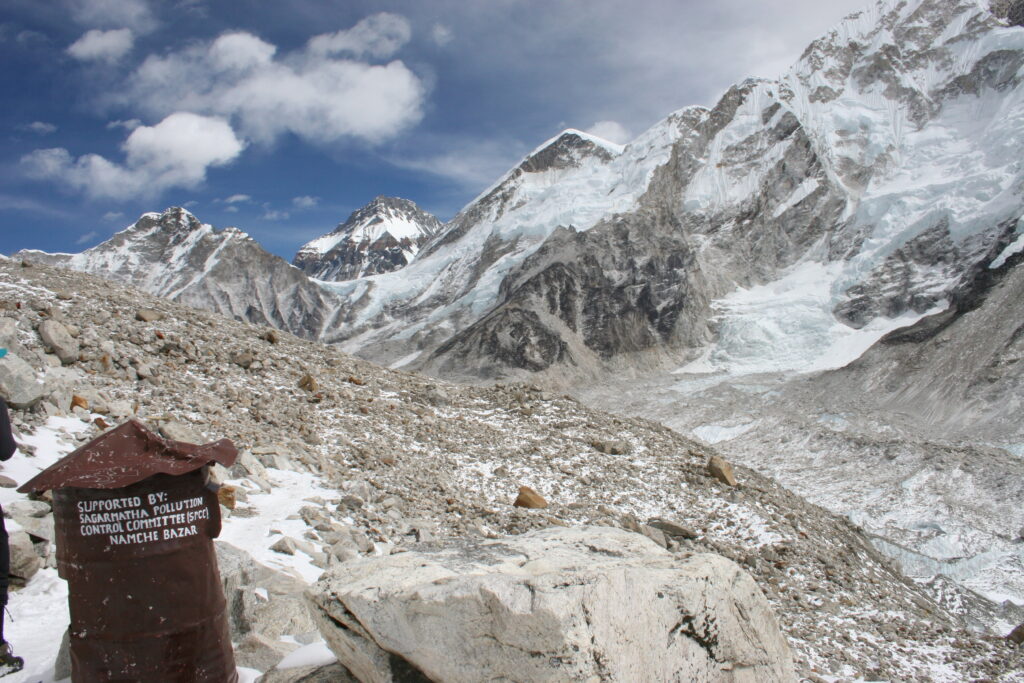
Day 10: Visit Everest Basecamp and go back to Pheriche (4240m)
Gorakshep to Pheriche (11 km, 4 hours + 3 hours EBC)
The weather was clear this morning and I decided to visit the Everest basecamp, which is about 1,5 hrs. away from Gorakshep. Unfortunately, it was not the season for expeditions to set up the basecamp and therefore I found nothing that would remind of a basecamp, except a stone on which somebody wrote “Everest basecamp”, as well as flags and banners from all across the world, written with motivational texts and the names of people who have been here.
Nevertheless, the surrounding glaciers where stunning and the hike from Gorakshep totally worth it!
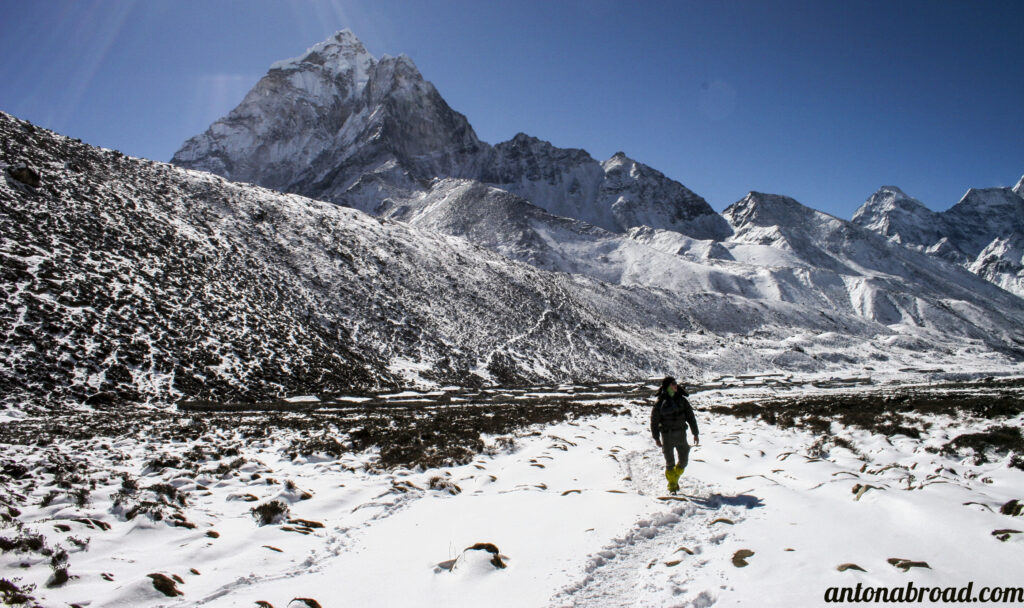
Day 11: Phortse
Pheriche to Phortse (11 km, 5 hours)
This hike is relatively easy as it is downhill and goes along a river, as well as a beautiful mountain range. There was still a lot of snow in Phortse in February and I recommend bringing spikes, as some paths were full of ice and snow.
Day 12: Gokyo
Phortse to Gokyo (16 km, 6-7 hours)
I remember this part to be quite challenging, as there is no teahouse for the last three and a half hours to rest while hiking to Gokyo. It is also possible to sleep one night in Machermo and head to Gokyo on the next morning.
Nevertheless, I reached Gokyo and stayed at a place called “Gokyo Resort”. Due to special heat isolation techniques, the majority of rooms felt much warmer than the rooms in lodges before and the food of this place is amazing.
I highly recommend the noodles dishes with yak cheese and the pizza.
Day 13: Climb Gokyo Ri and go to Dohle
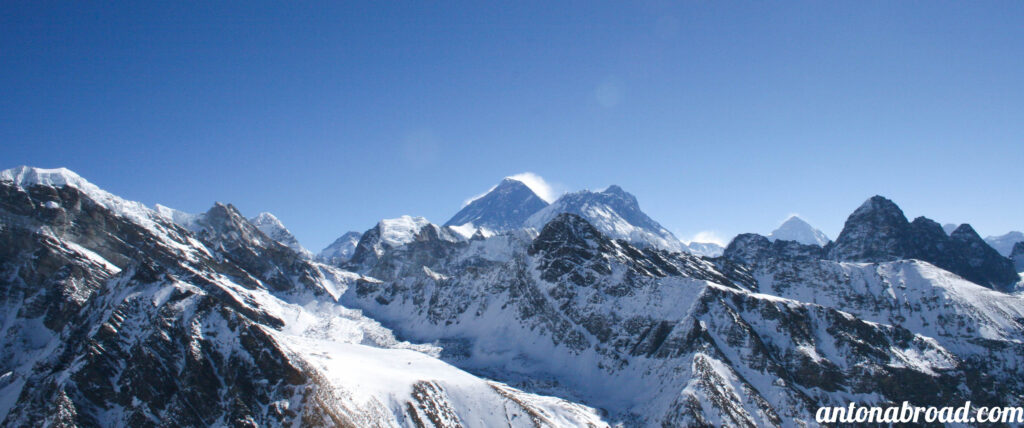
Gokyo to Dohle (12 km, 7 hours)
Gokyo Ri was the most exhausting hike I did and offered the best view that I had during my entire trek. It totally worth it to do the extra way (as the Rejola-pass was closed) and the trek is doable without a guide.
Day 14: Mojo
Dohle to Mojo (16 km, 7 hours)
The path in the morning is up-hill and hard but ends after about one and a half hours. Namche can be reached within three hours and the way after Namche was easy and snow-free.
Day 15: Paiya
Mojo to Paiya (21 km, 8 hours)
It didn’t take me long to realize, that the way down goes much faster than the way up. Furthermore, it is much easier as more and more oxygen is available in the air.
After spending more than a week in cold, tree-less territory I felt it refreshing to see so many forests and rivers again.
Motivated by the delicious apple pie I had at Paiya’s local bakery, I continued my hike and felt very exhausted once I reached Paiya.
Day 16: Jubing
Paiya to Jubing (12 km, 6 hours)
After trekking for more than two weeks, I felt that I grew stronger and faster. The paths on which I struggled in the beginning now seemed easy. The weather was cloudy but warm and enjoyed the comfortable condition of hiking in my t-shirt.
The path goes mainly downhill.
Day 17: Paphlu
Jubing to Paphlu (24 km, 9 hours)
The last day of my trek was also the hardest. The path went up- and sometimes downhill, while the weather wasn’t the best. Without a beautiful view, I focused too much on getting the trek done and reached Paphlu after nine hours, where I stayed for the night and took a jeep on the next day to get back to Kathmandu.
Packing list
Clothing
- 2 long sleeves
- 2 trekking shirts short sleeve
- Thermal underwear
- 2 liner socks
- 3 pair of warm socks (wool)
- 2 pair trekking pants with
zip off bottoms - 1 wind/rain proof overlayer- jacket and pants
- 1 down jacket
- 1 Warm Winter
hat - 1 headband/buff
- 1 pair trekking boots
- 1
pair gloves - 1 pair of sandals for the inside of lodges and teahouses
Gear
- 1 headlamp
- 1 warm sleeping bag
- 1 watch with alarm]
- 1 pair of spikes
- 2 Pairs of sunglasses (in case one
breaks )
First Aid, Medicine and Toileteries
- Diamox – for altitude
- Sunscreen
immodium - bandaids
- blister bandaids or moleskin
- eye drops
- advil cold and
dinus - nasal moisturizer – altitude causes nasal cavities to be very dry, nasal moisturizer was very helpful.
- tiger balm
- toilet paper (can get up to 4$/roll in Gorakshep)
- micro fiber towel
I hope you enjoyed this guide and will have a wonderful trek!
Feel free to share this article with your friends and family via social media.